How to Pack a Turntable for Shipping
Shipping a turntable can feel like a nerve-wracking task, right? I mean, with all the delicate parts—tonearms, platters, and that precious stylus—it’s easy to worry about things getting damaged. Trust me, I’ve been there!
But don’t worry, packing a turntable securely isn’t rocket science. With the right materials and a step-by-step approach, you can ensure it arrives at its destination in perfect condition.
Let me walk you through the process so you can ship your turntable like a pro!
Materials You’ll Need
Packing a turntable isn’t just about tossing it in a box and crossing your fingers. You need the right materials to keep every part safe and snug. Here’s what you’ll need:
- Packing Tape: Strong and durable tape to seal the box securely.
- Bubble Wrap: It is for wrapping delicate parts like the tonearm and platter. Pro tip: Use at least two layers.
- Foam Inserts or Cushioning Materials: These keep the turntable from shifting during transit.
- A Sturdy Shipping Box: Double-walled cardboard boxes work best.
- Zip Ties or Twist Ties: To secure loose cords or the tonearm.
- Plastic Bags: Perfect for small components like the cartridge or screws.
- Optional but helpful: Anti-static Bags for electronics and a screwdriver if you need to disassemble parts.
Using proper materials reduces the risk of damage. So, gather these before you start, and you’re halfway to packing like a pro!
Also Read: How to Set Anti-Skate on Turntable: A Step-by-Step Guide
Preparing the Turntable for Packing
Before you even think about boxing up your turntable, let’s prep it properly. Skipping this step can lead to damaged components and a heartbreaking unboxing experience on the other end.
Here’s how to do this:
Step 1: Clean the Turntable
First things first, give your turntable a quick clean. Dust and dirt can cause scratches during transit, especially on delicate parts like the platter or stylus. Use a soft, lint-free cloth to wipe down the surface.
If you have a cleaning solution, go ahead and use that on the platter and tonearm. This ensures your turntable isn’t just safe but arrives looking pristine too.
Step 2: Disconnect the Cables
Next, unplug all cables—power, RCA, or USB. It’s a good idea to label them with masking tape, especially if you’re not the one setting it up again. This little hack will save the receiver a lot of confusion later.
Step 3: Remove Detachable Parts
Remove the critical components of your turntable before packing like:
- Tonearm Counterweight and Cartridge: Carefully detach these. The counterweight can usually be unscrewed, and the cartridge slides off the tonearm. Wrap each piece individually in bubble wrap.
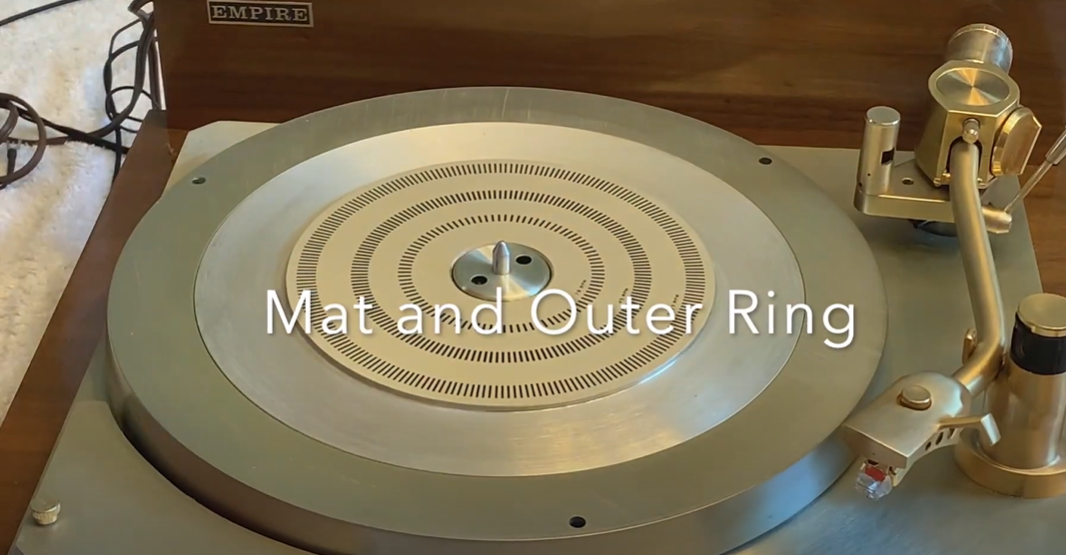
- Platter and Slipmat: Lift the platter gently—it’s heavier than you think! Wrap it in foam or bubble wrap. The slipmat is light but fragile, so add some cushioning too.
- Dust Cover: If your turntable has one, remove it to prevent cracks or scratches. It’s best to wrap it separately.
Securing Each Component
Once you’ve prepared your turntable, it’s time to secure each component. Here’s how to properly wrap and protect each piece:
Tonearm: Lock It Down
The tonearm is one of the most fragile parts of your turntable, so it needs special attention. Start by locking it in place if your turntable has a locking mechanism. If not, use painter’s tape (not duct tape—it’s too sticky) to gently secure it to its rest.
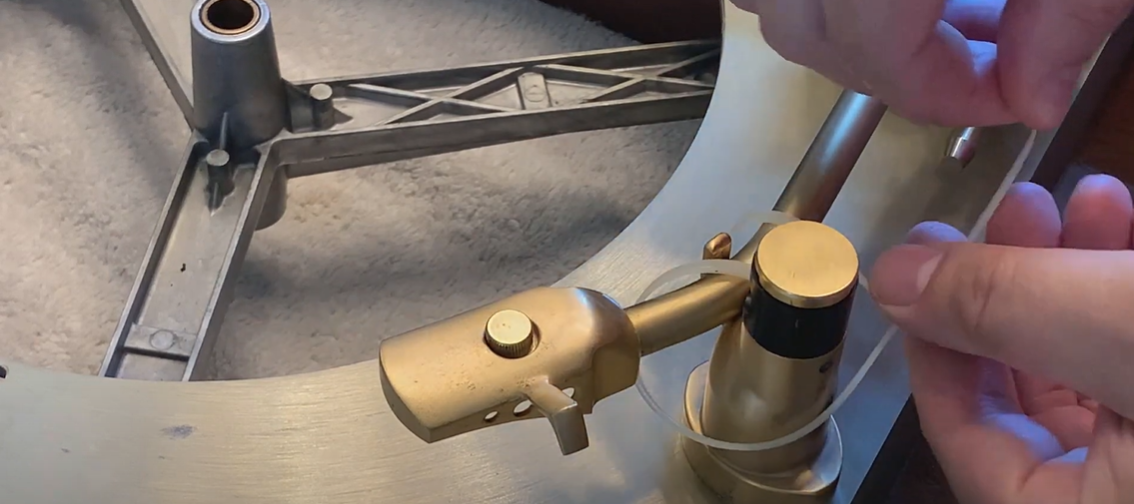
To prevent any movement, wrap the entire tonearm in bubble wrap, focusing on the stylus end.
Platter and Slipmat: Separate and Cushion
The platter is heavy and can easily damage the turntable if left in place. Carefully remove it and wrap it in two or three layers of bubble wrap. For extra cushioning, place foam inserts on both sides before wrapping.
The slipmat, though lightweight, is prone to bending. Lay it flat and secure it in a padded envelope or wrap it in a layer of foam.
Pro tip: Double-check for any hidden clips or screws underneath the platter before removing it.
Cartridge and Stylus: Handle with Care
The cartridge and stylus are the heart of your turntable, and they’re as fragile as they are vital. Carefully detach the cartridge, holding it by the sides (never touch the stylus). Place it in its original case if you have one. If not, wrap it in an anti-static bag, followed by bubble wrap.
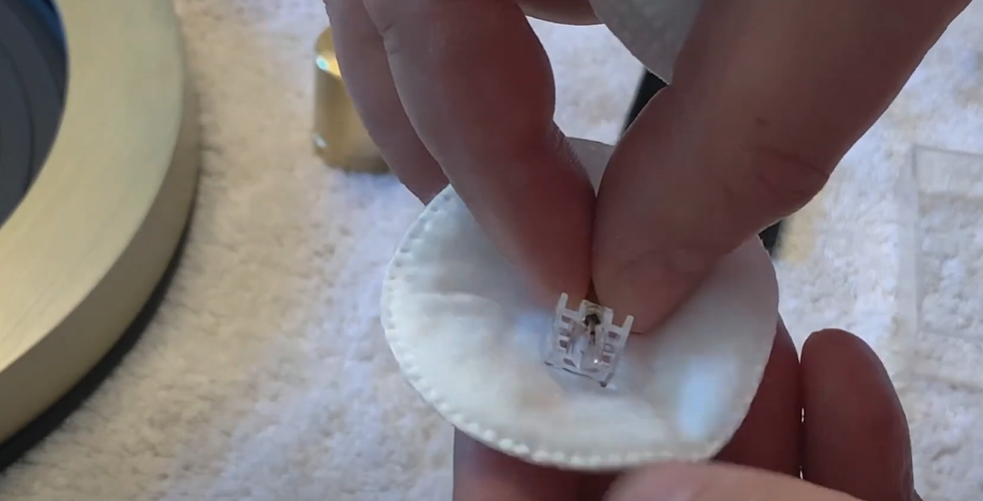
For the stylus, use a protective cap if available. If not, wrap it in a small foam piece and secure it with painter’s tape.
Dust Cover: Prevent Cracks
If your turntable has a dust cover, remove it to avoid cracking during transit. Wrap it in soft foam or multiple layers of bubble wrap, paying extra attention to the edges.
Use painter’s tape to hold the wrapping in place but avoid taping directly onto the surface, as it can leave marks. For extra security, sandwich it between two pieces of cardboard.
Also Read: How to Polish a Turntable Dust Cover?
Base and Feet: Stabilize and Protect
The base of the turntable and its feet should be stabilized to prevent shifting. If the feet are detachable, remove them and wrap them in bubble wrap. For non-detachable feet, ensure the base is cushioned well with foam or soft padding.
Packing the Turntable
Now that all the components of your turntable are securely wrapped and ready, it’s time to pack them.
Step 1: Prepare the Shipping Box
Start with a sturdy box, preferably double-walled for extra protection. If you’re reusing a box, make sure it’s in good condition—no weak spots or previous damage. The box should be slightly larger than your turntable, allowing room for cushioning.
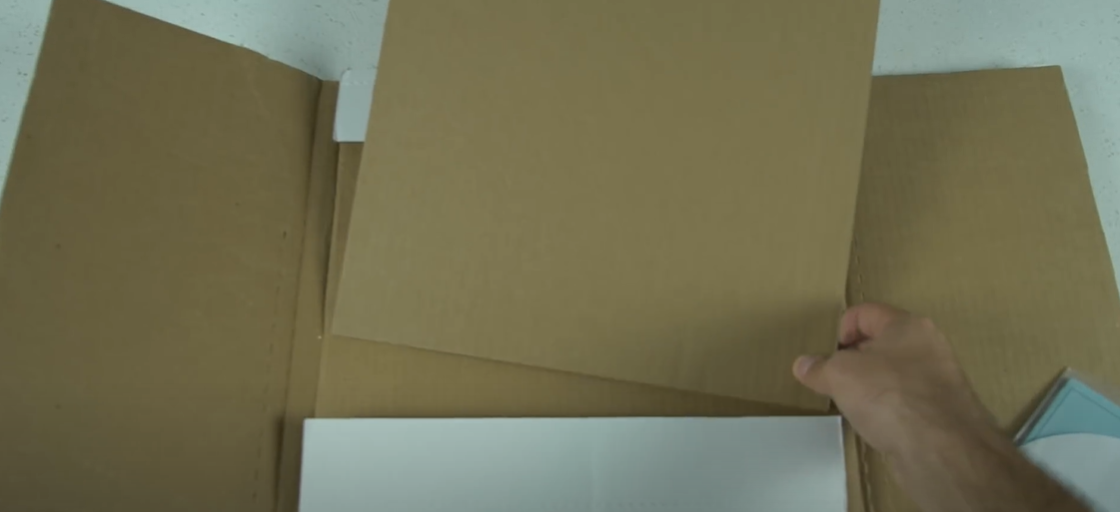
Place a layer of padding (bubble wrap, foam sheets, or crumpled paper) at the bottom of the box to create a shock-absorbing base. This layer helps protect the turntable from any sudden impacts during shipping.
Step 2: Place the Turntable Base
Position the turntable base in the box, making sure it sits level. Add foam inserts or extra bubble wrap around the base to prevent it from shifting. The goal is to keep the turntable snug but not overly compressed.
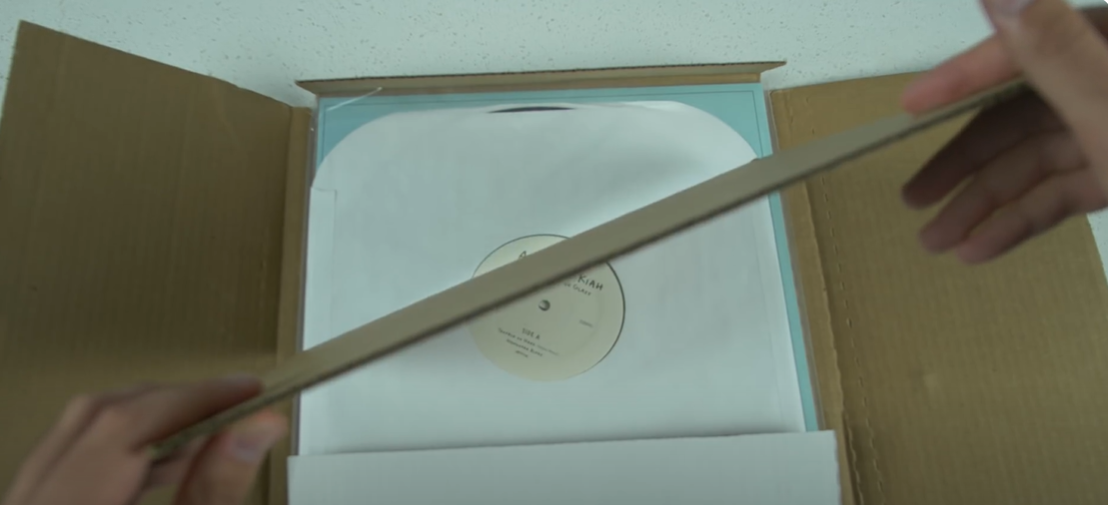
Step 3: Add the Components
Now pack the individually wrapped components like the platter, tonearm, slipmat, and dust cover. Ensure nothing touches directly.
Step 4: Fill All Gaps
Empty space in the box is a no-go. Use crumpled paper, foam peanuts, or additional bubble wrap to fill every gap. This prevents the components from moving around during transit.
Step 5: Double-Boxing for Extra Safety
For high-value turntables, double-boxing is your best bet. Here’s how:
- Place the packed box into a larger box with at least two inches of space on all sides.
- Fill the space between the inner and outer boxes with cushioning material like foam or air pillows.
- Seal the outer box securely with heavy-duty packing tape.

Labeling and Final Preparations
Proper labeling and final preparations are just as important for ensuring your turntable reaches its destination safely. Labels are your turntable’s voice during shipping, telling handlers how to treat the package. Use these key labels:
- Fragile: Place this on all sides of the box. It’s like a bright red flag for careful handling.
- This Side Up: Add this label to indicate the correct orientation. You don’t want the turntable being flipped upside down.
- Do Not Stack: This is essential if you’re shipping through a service where packages are often piled up.
Make sure labels are large, legible, and affixed securely with clear packing tape.
Ship Your Turntable With Confidence!
And there you have it—a foolproof way to pack your turntable for shipping. By following these steps, you’ve ensured your precious gear is ready to travel safely, no matter the distance. It’s all about the details: secure each component, pack with care, and label it right.
Now, you can ship with confidence, knowing your turntable will arrive in perfect condition.


![Turntable Skipping Problem [FIXED]](https://turntablely.com/wp-content/uploads/2024/09/Turntable-Skipping-Problem-FIXED-1-768x512.png)
